Hello!
I know it’s been a while since my last post, and I apologize for being absent, but I have been in an all-consuming whirlwind of art projects and paintings lately that has been as exciting and fun as it has been exhausting! Yet somehow, in the midst of the madness, I’ve managed to start on some new stuff that I’m extremely excited about! I’ve been experimenting with going back to a more illustrative style, much like the ink and colored pencil style I worked in before I started painting, only this time I will be using paint!
For this new series of work I wanted to go back to the damask type background patterns that I used to use in my earlier work. Usually I would create a new pattern for each piece but I’ve decided that I want to have a more uniform feel to this series so each piece will adorn the same pattern just in different colors. People often ask me how I create my backgrounds so I snapped a couple pics during the process to show you.
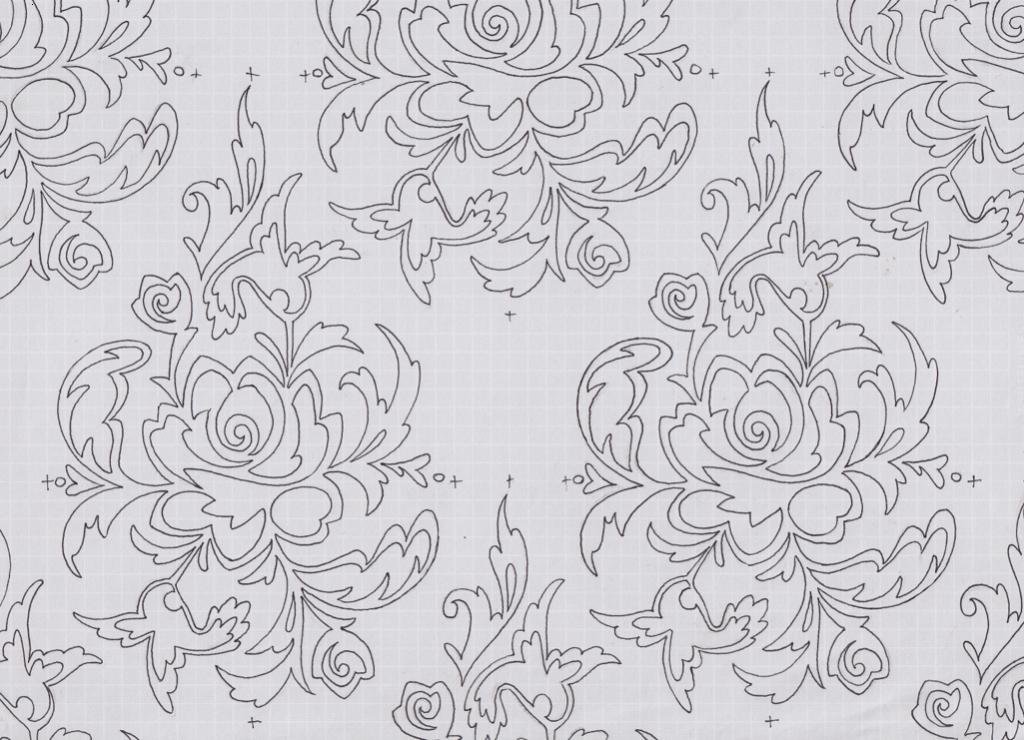
First I start by creating a basic design. I wanted a laceier look for this pattern with something personal to my work so I decided on roses and hummingbirds.

Next I repeat the pattern by staggering the design using graph paper. I make sure to mark off points where the patterns need to line up so it will repeat properly.
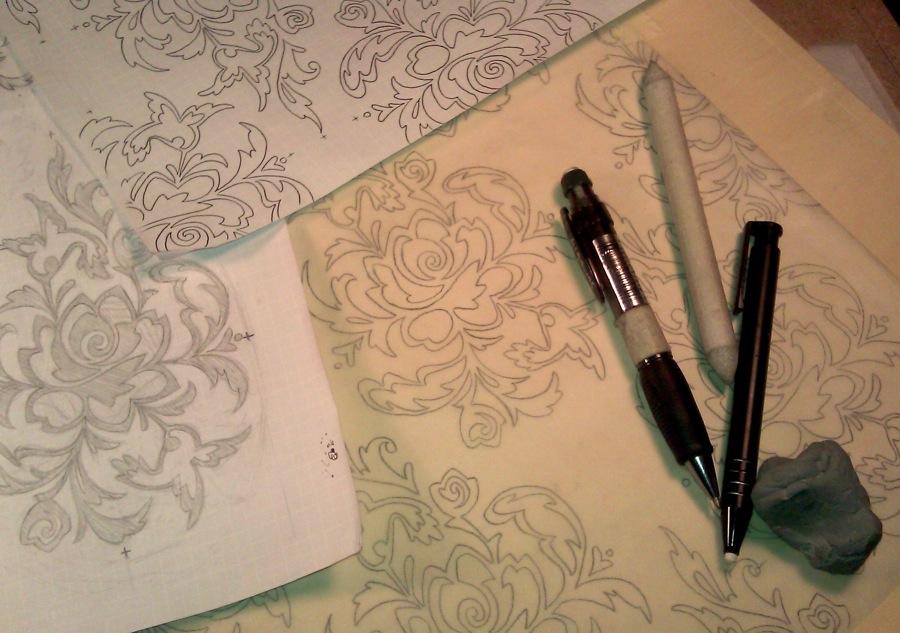
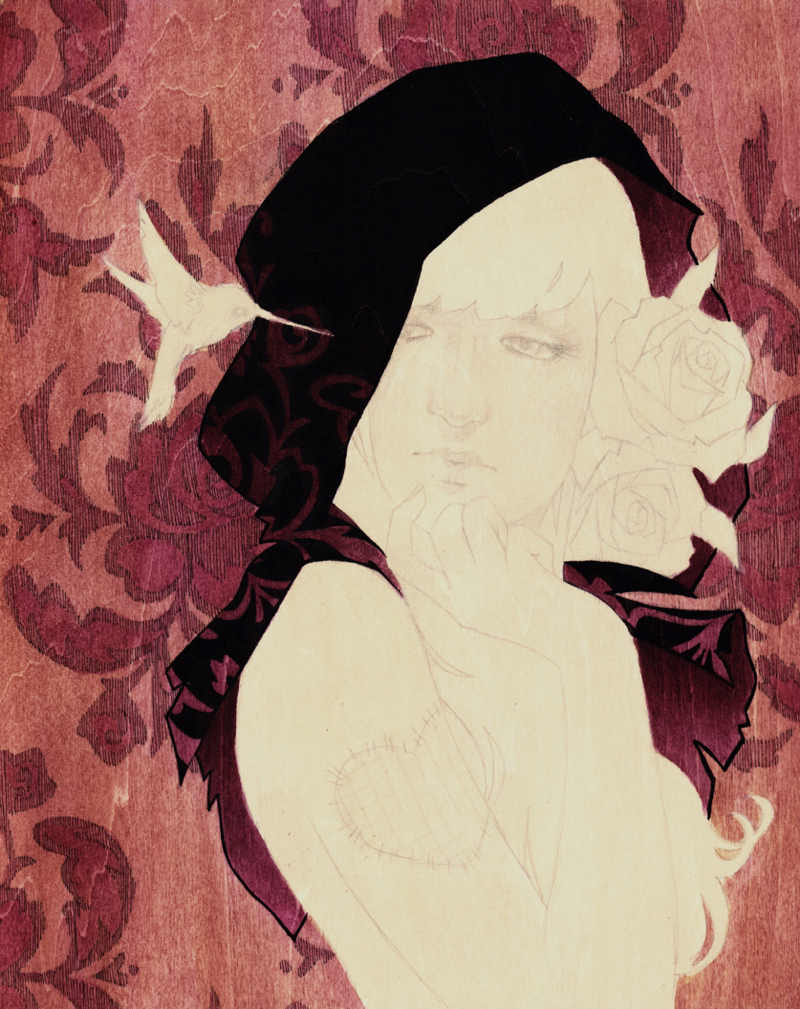
After I get the pattern set and inked I trace it onto tracing paper. When that is done I flip the tracing paper (graphite side down) and rub the design onto the wood around the sketch. I like to use a softer lead when tracing because the graphite transfers easier. (I wanted this pattern to have a more stitched feel to it so I inked it with small lines before I started painting.)
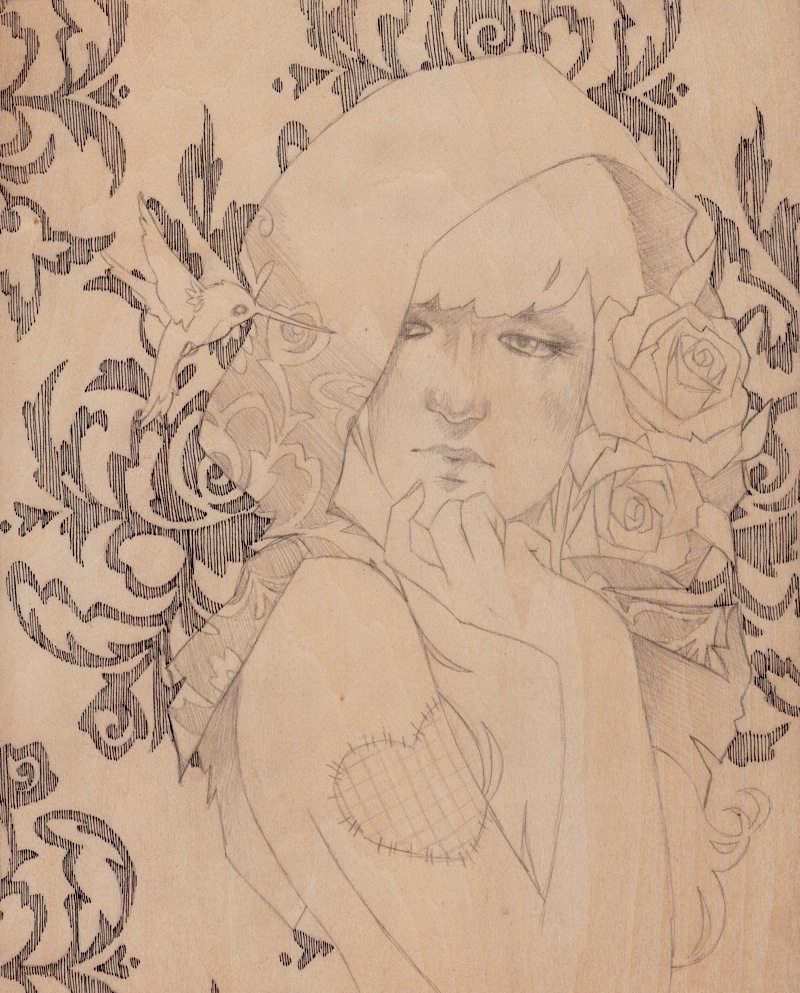
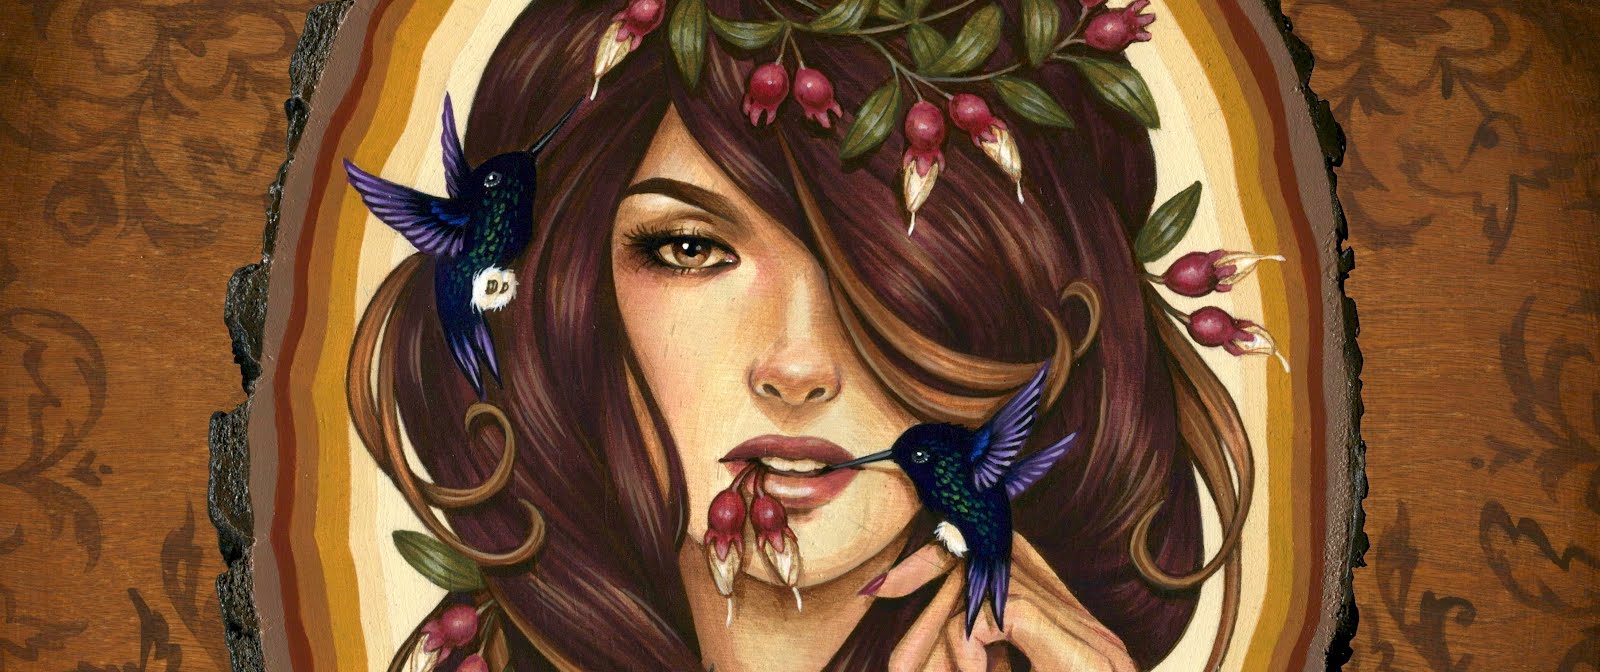
Once the pattern is inked on the wood panel I start painting. With my backgrounds I always paint in light washes of color which helps to bring out the wood grain and also allows the inked design to show through.
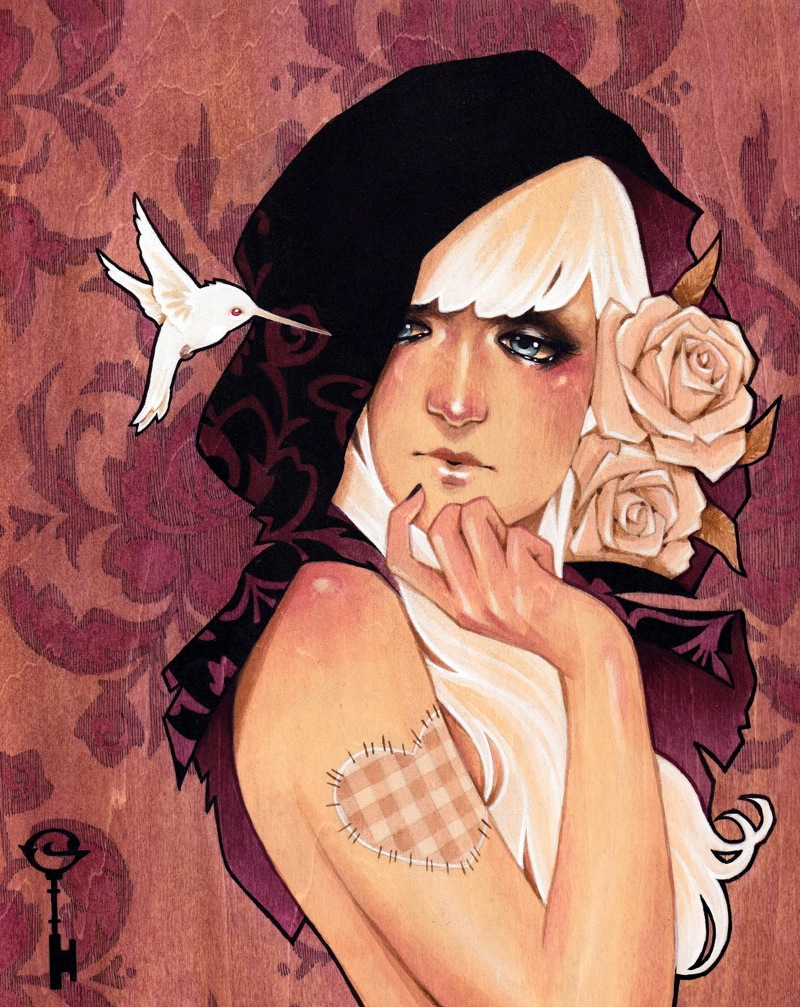
And then of course I finish the rest. This piece is titled “Patched Hearts Never Heal” and is 8”x10” acrylic on wood 2011.
I hope you enjoyed my post. Thanks for stopping by! Until next time...
-Glenn Arthur
Beautiful work and a lovely and informative guide! Thanks so much for sharing this Glenn!
ReplyDeleteAwesome post. I always wondered how you get this patterns so perfect but was to afraid to ask.
ReplyDeleteThanks! And please don't ever be afraid to ask me anything. I'm not a magician. I don't mind sharing my secrets ;)
ReplyDeleteWow!! I will be definitely asking you tons of questions...Cristina Ortiz/facebook
ReplyDeleteI use a simular approach, and recently found saralpaper.com to be a great time saver in the transfer portion of the tedious process. The paper is coated with graphite leaving you a step ahead in your transfers. Thanks for the tutorial. Keep up the great work Glenn.
ReplyDeletei'm having trouble finding your shop! i want to purchase a print. is there such a thing?
ReplyDeleteI am excited to try thanks for sharing it!
ReplyDeleteAmazing! :)
ReplyDeleteI so love your work, good of you to share your techniques too. Keep up the great work!!
ReplyDeleteI was always curious about the acrylics you use. Is there a particular brand you like best
ReplyDeleteEvery stage looks beautiful. I like your style.
ReplyDelete